
HOW TO INSTALL THE BIG FACE LION AND THE BIG FACE TIGER MADE BY BLOODSONG
| I have been asked recently to help someone install the Big Face Lion and the Big Face Tiger made by . After having a hard time figuring it out for myself before I could explain it, I decided that making a tutorial for this would be the easiest way of explaining the required steps. Be warned, this tutorial is in detail (in other word, long *giggles*) and specific to the installation of these two characters. It is required to have Poser 4 and the Zygote lion in order for this to work. If you find any mistakes or broken links while following this tutorial, please send me an . So, without further delays, here we go! : ) |
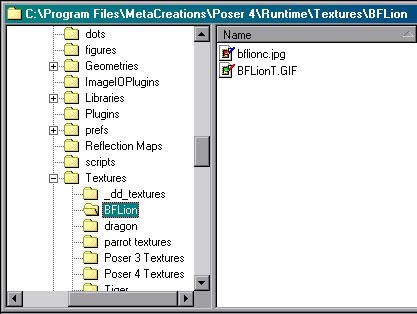
| Start by unzipping the archive containing the Big Face Lion. You will get
the following files: BFLion.pcf –> encoded .obj file bflion.txt –> installation explanations bflionc.jpg –> texture BFLionT.GIF –> texture template Let's start with the easy steps first. The bflionc.jpg file is the lion's texture. Move it to the Poser4\Runtime\Textures folder. If you wish, you can create a subdirectory in there to keep it separate and more accessible. You might want to keep the template in the same place. |
 |
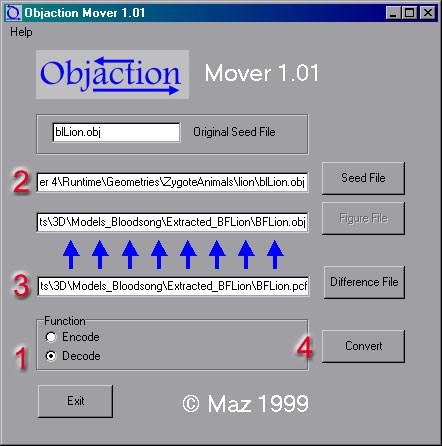
| Now, where the fun starts! : ) You need to decode the .pcf file in order
to be able to use it. The use of an encoded file is to make sure that the user who wishes
to use this new character has the rights to the original model. You will need Objaction
Mover in order to decode the file. You can find it on Sandy
Lodge Graphics under the Utilities section. The utility is free but for PCs only. Once you have installed and started Objaction Mover, first click the radio button beside Decode. Then, click on the Seed button and navigate to find the bflion.obj file, select it and click ok. This will tell Mover wich file to use as a basis for the new character. The last step is to tell the software which file contains the new parameters. Click on Difference File, navigate to where you extracted the BFLion.pcf file, select it and click ok. You are now ready to create the new character. Just click on Convert! : ) You can now close Mover. |
 |
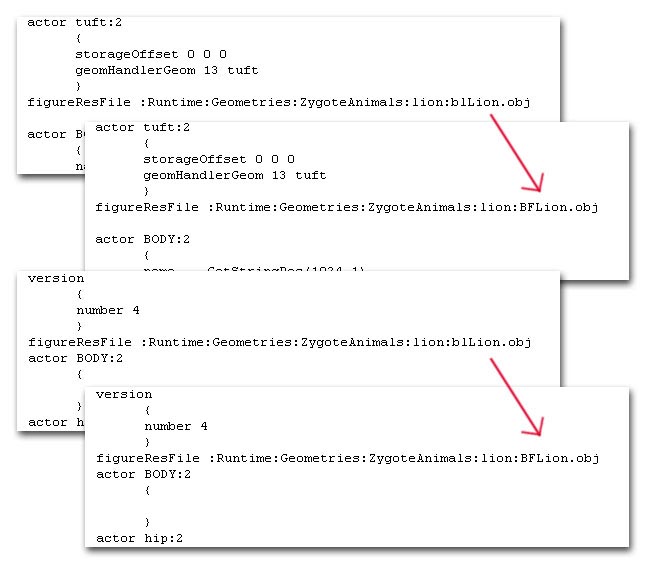
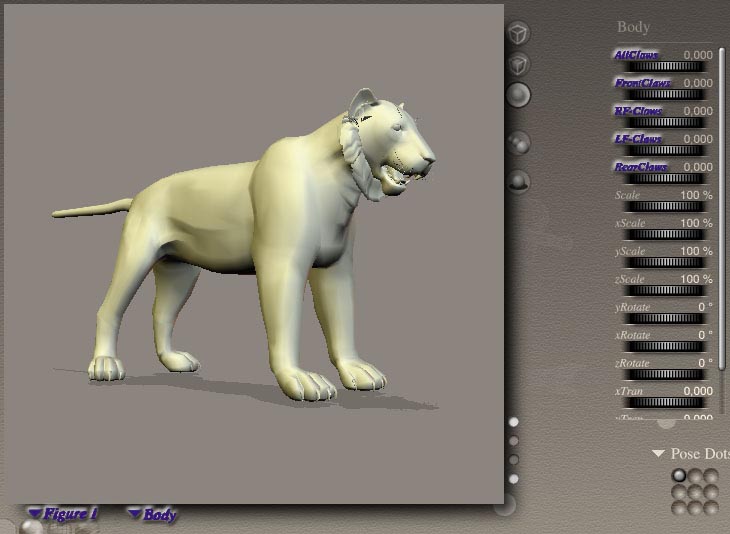
| As you can see from the above screenshot, the new character (BFLion.obj)
has been created in the same directory as the .pcf (seed) file. Just move it in the
same directory than the original .obj file of the lion. Now, in order for this model to be accessible in Poser, you need to create a .cr2 file for it. Don't ask me why, I just know it needs it *shrug* So, we'll start with the actual Lion.cr2 file (located in Poser4\Runtime\Libraries\character\Animals) since we created this new character from the lion one. You can use a plain text editor. You will see a reference to the blLion.obj file appear twice. Change it to BFLion.obj as per the following screenshot. |
 |
| Make sure you save the file under a different name with the .cr2 extension. You can give it the name you want but to keep things simple, let's give it the same name as its corresponding .obj file, in other words BFLion.cr2. While we're in the file, why not also change the reference to the new texture since we know the old one won't fit. Towards the end of the .cr2 file, you will see a section starting with "material fur". |
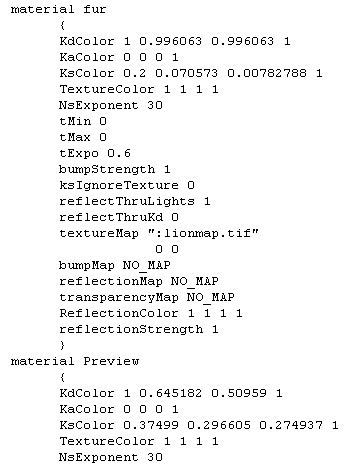 |
| Scroll down through this section, and whenever you see a reference to
"lionmap.tif", change it to the new one, "bflionc.jpg". This will prevent having to
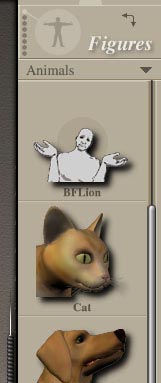
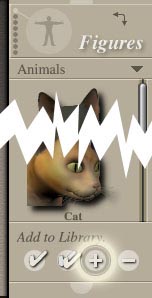
manually set the texture in Poser each time you want to use the Big Face Lion. So, this covers so far what's needed to install the Big Face Lion. Next time you start Poser, you should see it appear in the Figures/Animals section. You won't see a preview of the character at this point but its name is there. I explain how to create the preview at the end of this tutorial. |
 |
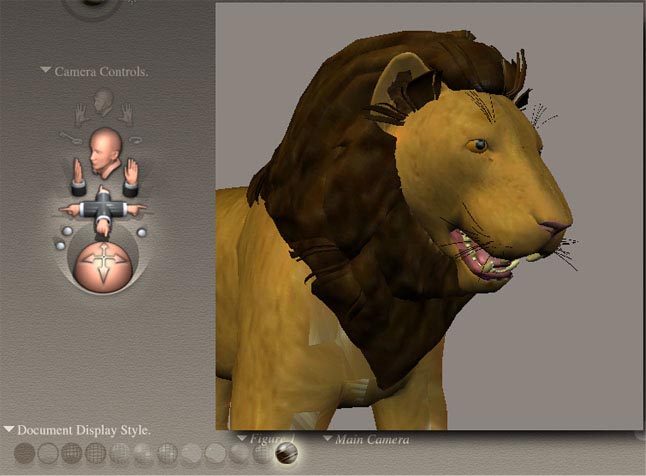
| And it should look like this when rendered in Poser. |
 |
| Now, on to the Big Face Tiger. All the previous steps are required in
order to install it because it uses the Big Face Lion as a basis. After unzipping the
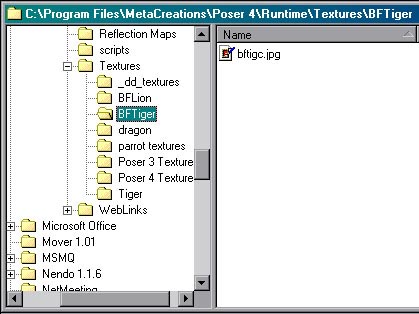
archive, you will get the following files: bftigc.jpg –> texture bftiger.txt –> installation explanations TigerBF.cr2 –> character file First, move the texture file to its own directory in the Poser4\Runtime\Textures folder. |
 |
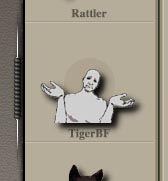
| All we need to do now is to move the TigerBF.cr2 file to the Poser4\Runtime\Libraries\characters\Animals folder. This will give you access in Poser to the Big Face Tiger. Once again, it doesn't show a preview but the name is there. |
 |
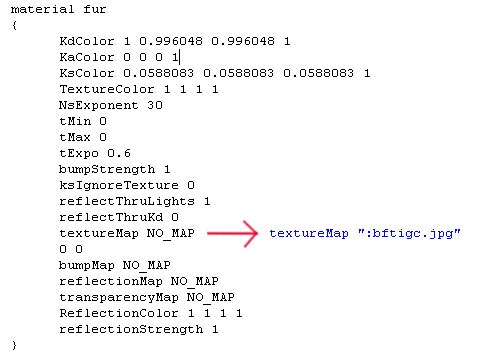
| Now, as we did for the Big Face Lion .cr2 file, I suggest that you modify the TigerBF.cr2 file to have the texture automatically applied in Poser whenever you wish to use it. It does get a little trickier here. First, find where the "material fur" section begins in the .cr2 file. Now, you will notice something different from the Big Face Lion .cr2 file. In this one, there is no default texture applied. What you need to do is to replace the NO_MAP statement with the following ":bflionc.jpg" in order for the texture to be called. Do this for material fur, material Preview, material mane, material claws, material paws, material innerMouth, material nose, material innerEar, material whiskers, material brow, material teeth, material pupil, material iris, material tailTuft and material defautl_white1_nipples. I know, it's tedious, but it pays off in the long run! : ) |
 |
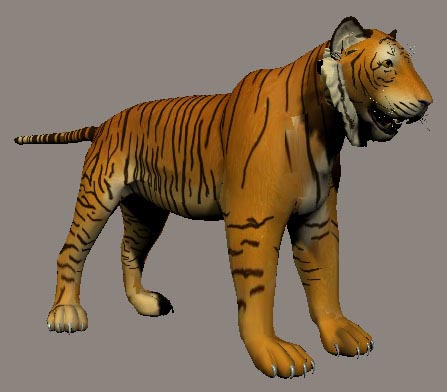
| If you've done everything properly, here's how the Big Face Tiger should look like in Poser. |
 |
| One last note, if you wish to access the morph for the retractable claws, don't forget to select the body of the figure in order to access them. |
 |
| Now that we've seen how to install both characters in Poser, I'll show you how to create a preview for it. First, load the character for which you wish to create a preview, place the camera so you see in the work area what you want to be on the preview and select "Texture Shaded" mode. |
 |
| Then, click on the "+" at the bottom of the library menu to add the new character to the menu. |
 |
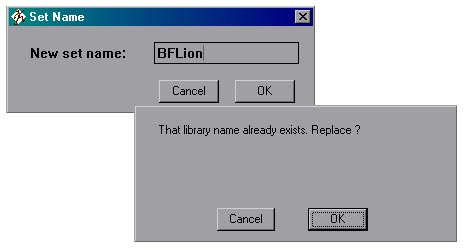
| Type the name of the character in the following pop-up box. In the present case, we want to create a preview for the new character so type in the same name, BFLion, and click Ok. A second box will pop-up asking you if you want to replace it, click on yes. |
 |
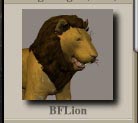
| You have now created a preview for the BFLion! : ) Just repeat the same steps to create a preview for the BFTiger. |
 |
| So, this wraps it up! Hope you have found it helpful! : ) If you have comments, please feel free to me! : ) |